
Håndverkerens reise: A Comprehensive Guide to Custom-Making a Sterling Silver Necklace
The creation of a custom sterling silver necklace is a fascinating alchemy of art, vitenskap, og tradisjon. Unlike mass-produced jewelry found in chain stores, a custom piece is born from a collaborative journey—transforming an abstract idea, a fleeting sketch, or a cherished sentiment into a tangible, polished object of lasting beauty . This guide will meticulously deconstruct the entire process, from the initial spark of inspiration to the final gleam of a finished piece.
Fase 1: The Genesis—Inspiration and Conceptualization
Every custom piece begins long before any metal is melted. The journey starts with an idea. This could be a rough sketch on a napkin, a photograph of a vintage heirloom, or simply a desire to own a piece of jewelry that tells a personal story . The first step is to solidify this vision.
Client Consultation and Design Brief:
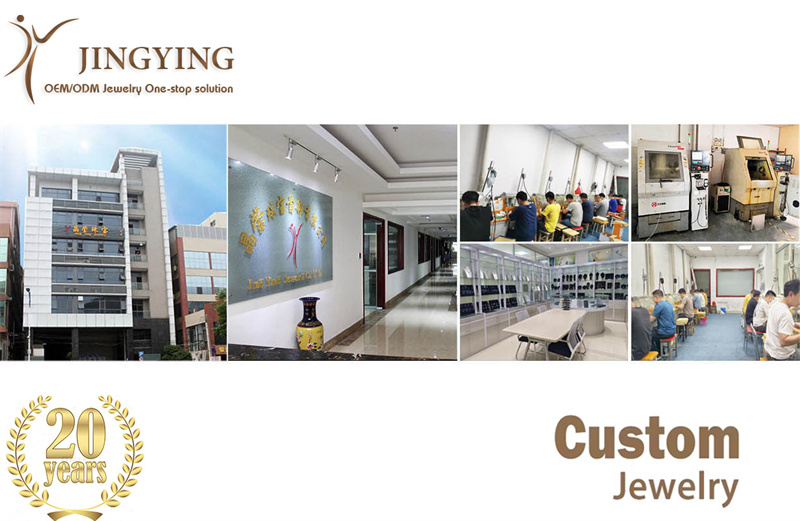
The process officially begins when the client connects with a designer or a jewelry manufacturer. For independent artisans or studios like those found on platforms like Pinkoi, this involves direct communication to discuss the specific design, tekst, or symbol to be used and to confirm the price . For larger OEM manufacturers like Fulcol or JINGYING, this is a more formal "client consultation" phase. Project managers work with the client to understand the exact vision: Is the design realistic or minimalist? What will be its approximate size and weight? Technical details like wall thickness, gemstone integration, and budget are also discussed . This stage is crucial for establishing the feasibility and cost of the project.
Key Considerations for this Phase:
-
Aesthetic Style: Minimalistisk, årgang, moderne, organisk?
-
Bærbarhet: How will the necklace lie against the body?
-
Budsjett: Silver is an affordable precious metal, but costs vary based on complexity and stones.
-
Design Specifics: Is it a nameplate, et symbol, or a complex motif?
Fase 2: The Blueprint—Design and Documentation
Når konseptet er klart, the nebulous idea takes a concrete form. This involves sketching, material decisions, and creating technical plans.
Preliminary Sketching and Technical Drawings:
The designer will move from loose freehand sketches to more formal technical drawings. Dette er "blåkopi" that defines every aspect of the piece: exact dimensions, metal thickness, and the style of the bail and clasp . For most contemporary custom work, this is almost entirely done using Computer-Aided Design (CAD) software like Rhino 3D, MatrixGold, eller ZBrush .
Rollen til CAD (Datastøttet design):
CAD er uten tvil det mest kritiske teknologiske trinnet i moderne skreddersydde smykker. En designer lager en nøyaktig 3D digital modell av kjedet . Dette gir flere enorme fordeler:
-
Presisjon: Hver dimensjon er nøyaktig, sikre at komponentene passer perfekt sammen.
-
Visualisering: Programvaren genererer fotorealistiske gjengivelser, slik at klienten kan "se" stykket fra alle vinkler før en enkelt unse metall brukes .
-
Modifikasjon: Endringer er uendelig mye enklere å gjøre i en digital fil enn på en fysisk modell.
-
Engineering: Designeren kan sikre at modellen er det "kan produseres," legge til spruer (kanaler for metallflyt) og sikre riktig veggtykkelse .
-
Vektberegning: Programvaren beregner den nøyaktige vekten av sølv som kreves, som er avgjørende for kostnadene .
Fase 3: Grunnlaget – modellfremstilling og prototyping
How do we bridge the gap between a digital file and a silver object? This is achieved through prototyping.
Creating the Physical Model:
The approved CAD file is used to create a physical model of the pendant. This is usually done via high-resolution 3D printing (SLA or DLP), which uses a UV-sensitive liquid resin to build the model layer by microscopic layer . This hard plastic (or special casting wax) model captures every intricate detail. In more traditional settings, a skilled artisan might carve the model directly from a block of jeweler's wax, though 3D printing is the modern standard for its precision and speed . The artisan presents this physical prototype to the client for final approval . Once this prototype is approved, the design is considered finalized, and modifications usually become impossible or very costly .
Fase 4: The Transformation—Casting the Silver
This is the stage where the model is transformed into sterling silver through the ancient and precise process of tapt voksstøping (also known as investment casting) . This technique has been used for thousands of years but is now highly refined .
Skritt 1: Spruing og Investering
-
The resin/wax model is attached to a central wax rod with wax channels called "innløper," danner en "voks tre." This tree allows multiple pieces to be cast at once or ensures proper metal flow for a single large piece .
-
The tree is placed inside a steel cylinder (flask), and a liquid plaster-like substance called "investering" helles rundt den. This is mixed under a vacuum to remove air bubbles that could cause defects .
Skritt 2: Utbrenthet
-
The hardened flask is placed in a kiln and heated to a high temperature (around 700°C/1300°F). This process bakes the investment into a hard shell and completely melts and vaporizes the wax/resin, etterlater seg en perfekt, hollow negative cavity in the shape of the pendant .
Skritt 3: Støping
-
925 sterling silver grain (92.5% rent sølv blandet med 7.5% copper for durability) is melted in a crucible at around 960°C .
-
The hot flask is removed from the kiln, and the molten silver is forced into the cavity. This is done using either centrifugal force (spinning the mold) eller vakuumstøping (using negative pressure to suck the metal in), ensuring the silver fills every fine detail .
Skritt 4: Cooling and Devesting
-
The flask is cooled, then plunged into water. The brittle investment plaster shatters, revealing a "sølv tre" with the rough pendant casting attached . The individual pieces are then cut from the tree with a jeweler's saw .
Fase 5: The Revelation—Finishing and Assembly
This is the most labor-intensive phase, where the raw, rough casting is transformed into a polished piece of jewelry. This is where the jeweler's skill truly shines.
Forhåndsbehandling (Fettling):
The raw casting has a matte, slightly grainy texture and sprue attachments. The artisan uses a series of tools to refine it:
-
Sawing & Arkivering: Sprues are cut off, and rough edges are filed away .
-
Sliping: The piece is sanded with progressively finer grits of sandpaper to smooth the surface .
-
Tumbling: The piece is placed in a machine with steel shot and burnishing compound. Dette "work-hardens" the metal and creates a preliminary shine .
Steininnstilling (Hvis aktuelt):
Hvis designet inkluderer edelstener, a specialized jeweler (the setter) now steps in. Using precision tools and microscopes, they cut seats into the metal and secure the stones. Common settings for necklaces include tappinnstillinger (metal claws holding the stone), rammeinnstillinger (a metal rim folded over the stone), eller pavé settings (many small stones set close together) .
Polishing and Texturing:
This step defines the final look of the silver .
-
Høypolsk: The piece is polished on a motorized wheel with muslin buffs and compounds like Tripoli (to remove scratches) and Rouge (å oppnå en strålende, speillignende glans) .
-
Satin/Matte Finish: Created by brushing with a wire brush or sandblasting.
-
Oksidasjon (Antikvitet): A chemical solution like "lever av svovel" gjør sølvet mørkere, blackening the recesses to create dramatic contrast. The high points are then polished back to bright silver, emphasizing the details .
Forsamling:
The finished pendant is attached to its chain (often chosen from a catalog of styles like cable, eske, or Figaro) via a jump ring and bail. The clasp is attached, and all connections are checked for security .
Fase 6: The Finale—Quality Control and Presentation
The journey concludes with rigorous checks and a joyful presentation.
Kvalitetskontroll:
The jeweler conducts a final meticulous inspection under magnification:
-
Strukturell integritet: Are all solders clean and strong?
-
Stone Security: Is every stone firmly set?
-
Fullfør: Er poleringen jevn og feilfri?
-
Funksjon: Does the clasp open and close smoothly?
-
Renhet: A hallmark of "925" is often stamped, certifying the sterling silver quality .
Cleaning and Delivery:
The necklace is placed in an ultrasonic cleaner to remove every trace of polishing compound and fingerprints, then steamed dry for a final, brilliant luster . It is carefully placed in a presentation box, often with anti-tarnish materials, and delivered to its owner.
Konklusjon: The Journey from Concept to Heirloom
Custom-making a sterling silver necklace is a journey of over 50 presise trinn, taking anywhere from 3 til 6 weeks depending on complexity and the manufacturer's workflow . It represents a perfect marriage of traditional craftsmanship and modern technology, transforming a simple idea into a wearable masterpiece. From the initial CAD rendering to the final polish, every piece is a testament to the skill of the artisan and the enduring beauty of sterling silver. Whether you are a designer looking to launch a brand or an individual seeking a one-of-a-kind piece, understanding this process illuminates the value and artistry inherent in custom jewelry.