
DIY ジュエリーのアイデア: 自宅で自分だけのオーダーメイドイヤリングを作成しましょう!
大量生産のアクセサリーが溢れる世界, 自分の指紋が付いたジュエリーで自分を飾ることには、大きな満足感が得られます。. DIYの台頭 (DIY) このムーブメントはクラフトマンシップに再びスポットライトを当てています, and nowhere is this more accessible or rewarding than in the creation of custom earrings. Whether you are a seasoned crafter or a complete novice armed with nothing but curiosity, the art of making earrings at home offers a therapeutic escape, a significant cost saving, and the ultimate style statement: 独自性.
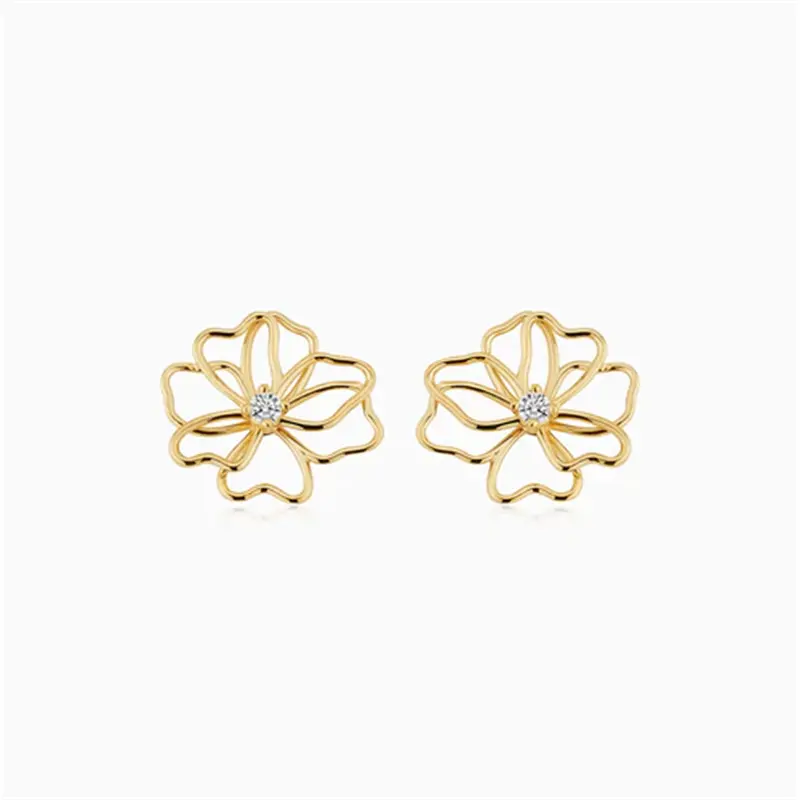
This guide will take you on a comprehensive journey through the world of DIY earring creation. We will explore the essential tools, the foundational techniques, and a treasure trove of creative ideas ranging from minimalist chic to bohemian extravagance. By the end of this 2000-word exploration, you will be equipped with the knowledge and inspiration to transform simple materials into wearable art.
章 1: The Arsenal – Gathering Your Tools and Materials
Before we delve into the creative process, we must establish a solid foundation. The beauty of DIY earring making is that you do not need a workshop full of expensive machinery. The starter kit is surprisingly modest and can be assembled for less than the cost of a single pair of designer earrings.
The Essential Tool Kit:
-
平ペンチ: These are your workhorses. They are used for gripping, 曲げ, and holding wires and findings securely without leaving marks.
-
ラジオペンチ: Essential for creating loops and curves. These conical pliers allow you to form consistent circles at the ends of headpins and wire, which is the backbone of many earring designs.
-
ワイヤーカッター (フラッシュカッター): A sharp pair of wire cutters is non-negotiable. They allow you to cut headpins, eyepins, and beading wire cleanly, leaving a flat edge that is safe to handle.
-
Crimping Tool (Crimpers): If you plan to use beading wire or memory wire, a crimping tool is necessary to secure crimp beads that hold the wire in place.
The Hardware (調査結果):
Findings are the unsung heroes of jewelry making. They are the mechanical components that hold your design together.
-
Headpins and Eyepins: Metal pins with a flat head (ヘッドピン) or a loop (アイピン) at one end. Beads are threaded onto these pins to create dangles.
-
Earring Hooks (Fishhooks/French Wires): The standard backings for pierced ears.
-
Leverback or Hoop Findings: These offer a secure, hypoallergenic alternative to fishhooks, often with a clasp.
-
ジャンプリング: コンポーネントの接続に使用される小さな金属リング, such as attaching a charm to a hook.
-
クリンプビーズ: Tiny metal tubes that are squashed onto wire to create a stopper.
The Aesthetics (Beads and Materials):
This is where your personality shines. The market offers an infinite variety of materials:
-
宝石: From polished amethyst to raw turquoise, stones bring weight and natural beauty.
-
Glass and Crystal: Swarovski crystals or Czech glass beads offer brilliance and color.
-
Wood and Bamboo: Lightweight and earthy, perfect for a bohemian vibe.
-
Acrylic and Resin: モダンな, カラフル, and often whimsical; great for bold geometric shapes.
-
金属: 銅, 真鍮, 銀, and gold-filled wire allow for complex wire-wrapping designs.
-
Upcycled Materials: Buttons, old costume jewelry, leather scraps, and even fabric can be repurposed.
章 2: The Fundamentals – Mastering the Basic Techniques
While imagination is your limit, your skill set is the vehicle. Mastering these three fundamental techniques will unlock the ability to make 90% of the earring designs on the internet.
技術 1: The Simple Wire Loop
This is the building block of bead dangles. It connects a bead to a jump ring or directly to an earring hook.
-
Thread your bead onto a headpin.
-
Using your round-nose pliers, grip the wire just above the bead.
-
Bend the wire at a sharp 90-degree angle.
-
Reposition the pliers to the tip of the wire and roll the pliers away from you to form a loop.
-
Wrap the remaining wire tail around the neck of the loop (the wire just above the bead) to secure it.
-
Trim the excess wire with flush cutters.
技術 2: Opening and Closing Jump Rings
A jump ring is only as strong as your ability to open it correctly.
-
Do not pull the ring apart laterally, as this will distort the circular shape.
-
その代わり, hold the jump ring with two pairs of pliers.
-
Twist one side towards you and the other away from you (opposing lateral forces). This opens the gap in the ring without bending it out of shape.
-
Attach the component and twist it closed in the reverse direction. The ends should align perfectly to create a seamless circle.
技術 3: Crimping
For designs using flexible beading wire (like Soft Flex or Tiger Tail), crimping ensures your beads don’t slide off.
-
Slide a crimp bead onto the wire, then loop the wire back through the crimp bead, creating a circle around your clasp.
-
Using the crimping tool, place the crimp bead in the "楕円形" notch and squeeze firmly to flatten it into a tube.
-
Move to the front notch of the pliers (the "fold" notch) and squeeze again to fold the tube in half, creating a tidy, secure anchor.
章 3: The Blueprint – Project Ideas for Every Style
Now that you are armed with tools and techniques, let's explore specific projects. These range from beginner-friendly to advanced artisan-level designs.
プロジェクト 1: The Minimalist Drop (Beginner)
スタイル: なめらか, モダンな, 毎日のウェア.
The minimalist drop is the "little black dress" of earrings. It requires only a few beads and a hook.
-
材料: 2 ヘッドピン, 2 ビーズ (choose a single color or gradient), 2 earring hooks, 2 ジャンプリング.
-
方法: Thread the bead onto the headpin. Create a simple wire loop at the top. Attach the loop to the jump ring, and attach the jump ring to the hook.
-
変化: Instead of a single bead, use three different sized beads stacked on the headpin (a small, 中くらい, and large). For a modern twist, use geometric beads like cubes or triangles in matte gold or brushed silver.
プロジェクト 2: The Bohemian Tassel (Intermediate)
スタイル: 芸術的, festival-ready, ステートメントメイキング.
Tassels are synonymous with bohemian style and are surprisingly simple to make from embroidery floss or leather cord.
-
材料: Embroidery floss (skeins of various colors), a charm or bead with a large hole, 2 eyepins, 2 earring hooks.
-
方法:
-
Cut a piece of cardboard slightly wider than your desired tassel length. Wrap the embroidery floss around the cardboard approximately 20-30 回.
-
Slide a piece of floss under the wraps at the top and tie a tight knot to secure the top of the tassel.
-
Cut the bottom loops of the floss off the cardboard.
-
Wrap a separate piece of floss around the tassel approximately 1/4 inch from the top to create the "neck."
-
Thread the top loop of the tassel onto an eyepin. Attach a bead above the tassel to hide the raw edge, then create a loop at the top of the eyepin to connect to your earring hook.
-
Pair with a large hoop or simply a hook for a dramatic effect.
-
プロジェクト 3: Wire-Wrapped Stone Drops (高度な)
スタイル: Earthy, artisan, 家宝の品質.
Wire wrapping is an art form that uses only wire and pliers to create intricate cages for raw stones.
-
材料: Raw, un-drilled gemstone chips or small tumbled stones, 20-gauge copper or silver wire, earring hooks.
-
方法:
-
Cut approximately 6-8 inches of wire. Slide the stone into the center.
-
Cross the wire over the top of the stone, wrapping it around the front and back to create a criss-cross pattern.
-
Bring both ends of the wire to the top of the stone and twist them together tightly to form a stem.
-
Take the two wire tails and wrap them down the sides of the stone, weaving them in and out of the cross wires for a decorative effect.
-
Once the cage is secure, bring the wires back to the top and twist into a solid stem.
-
Use the round-nose pliers to curl the stem into a loop for attaching to the hook.
-
ヒント: Try the "nest" method—create a spiral base with the wire, place the stone inside, and fold the edges of the wire up and over the stone to trap it.
-
プロジェクト 4: The Statement Hoop (中くらい)
スタイル: 大胆な, 建築的, モダンな.
Oversized hoops are having a resurgence, but they can be heavy. In DIY, you can use lightweight resin or acrylic hoops and embellish them.
-
材料: Large empty hoop frames (木材, 真鍮, or plastic), ビーズ, ワイヤー, or chain.
-
方法 (The Embellished Hoop):
-
Attach small lengths of chain to the bottom third of the hoop using jump rings.
-
Dangle charms, ビーズ, or pearls from the ends of the chain.
-
あるいは, thread a handful of beads onto a headpin, create a loop, and hang the bead dangle directly from the bottom of the hoop.
-
For a wrapped hoop, take a long piece of wire and wrap it around the hoop. At intervals, string beads onto the wire and continue wrapping, creating a spiral of color around the hoop.
-
プロジェクト 5: Polymer Clay Canes (Intermediate)
スタイル: 気まぐれな, カラフル, 個性的.
Polymer clay allows you to create "faux stone" or pattern beads that are lightweight and infinitely customizable.
-
材料: Polymer clay (さまざまな色), a knife, a pasta machine or rolling pin, ヘッドピン.
-
方法:
-
Condition the clay by kneading it until it is soft.
-
Roll the clay into a "cane" (a log). For a millefiori effect, stack different colored layers and squeeze them together to create a pattern.
-
Slice the cane into thin coins to reveal the pattern inside.
-
Roll the coins into balls or leave them flat. Poke a hole through the center with a needle tool.
-
Bake according to the package instructions.
-
冷やしたら, treat them like any other bead and string them onto headpins.
-
章 4: The Chemistry of Materials – Choosing Wisely
While designing is fun, the longevity of your earring depends on the materials you choose. As a DIYer, you must consider factors like weight, 変色, and skin sensitivity.
-
低刺激性: If you are making earrings for others, be mindful of allergies.
-
サージカルステンレス: 耐久性, 手頃な価格, and highly resistant to tarnishing. Great for hooks.
-
チタン: Lightweight and completely hypoallergenic, perfect for sensitive ears.
-
ニオブ: Another great choice that can be anodized to different colors.
-
Gold-Plated/Gold-Filled: Gold-filled has 100x more gold than plated and is safe for most people; gold-plated may wear off quickly.
-
-
Weight Management: Heavy earrings can stretch earlobes.
-
Use lightweight materials like acrylic, 樹脂, 木材, or polymer clay for large designs.
-
For heavy gemstones, consider using a "French wire" earring hook that distributes the weight better, or use lighter stone alternatives.
-
-
Sealing and Preservation:
-
If you use wood or polymer clay, consider sealing them with a clear coat (like Mod Podge or resin) to protect them from moisture.
-
Store your creations in anti-tarnish bags or compartments with silica gel packs to reduce oxidation.
-
章 5: Thinking Outside the Bead – Unconventional Materials
One of the most exciting aspects of DIY is the ability to "upcycle." Some of the most stunning earrings can be made from items you might otherwise throw away.
-
Paper and Cardboard: Quilled paper art can be rolled into intricate coils and sealed with glue. Cut geometric shapes from cardstock and layer them for a lightweight, architectural look.
-
Leather and Felt: Cut teardrops or circles from leather scraps. Punch a hole at the top and hang them from a hook. You can even stitch two pieces together to create a pouch.
-
Buttons: Vintage buttons are treasures. Pair a large intricate button with a simple pearl drop. They are already designed to be beautiful.
-
Found Objects: Dried seed pods, sea glass, and smoothed beach pebbles. Drill a small hole or wire-wrap them to create earthy, one-of-a-kind pieces that carry a story.
章 6: The Business of Creativity – Turning Passion into Profit
頻繁, after mastering the craft, friends and family will start asking for pieces. This can be the first step towards a small business. If you decide to sell your creations:
-
価格設定: Count your costs. Include materials, パッケージング, and your time. 一般的なフォーミュラはです
Cost of Materials x 3 + Hourly Rate. -
ブランディング: Develop a cohesive aesthetic. Are you Bohemian, ミニマリスト, or Glam? Consistent Instagram feeds and packaging help build a brand identity.
-
写真: In the digital age, good photos sell products. Invest in a lightbox or learn to use natural light effectively to capture the sparkle and texture of your earrings.
章 7: The Therapeutic Loop – The Zen of Making
最終的に, do not underestimate the mental health benefits of this hobby. The act of stringing beads, the repetition of wrapping wire, and the focus required to create symmetrical loops is a form of mindfulness. In a digital world screaming for attention, sitting at a desk with your pliers and beads is an act of resistance. It is slow, 触覚的な, そしてやりがいのある. The satisfaction of looking at a finished pair of earrings is a dopamine hit that no amount of scrolling through social media can replicate.
結論
Creating custom earrings at home is a journey of discovery. It begins with the humble headpin and evolves into intricate wire masterpieces. It allows you to match your earrings to your specific outfit, your specific mood, or your specific personality. It is sustainable, because it values the handmade over the mass-produced. It is affordable, turning a $20 budget into a dozen unique designs.
それで, gather your pliers, visit your local bead shop, and embrace the joy of making. Whether you are crafting a simple pair of pearl drops for a friend or a dramatic pair of tassel earrings for a festival, you are not just making jewelry; you are making memories. The next time someone compliments your earrings, you can smile and say, "ありがとう, I made them myself." そしてそれ, truly, is the most priceless accessory of all.